PC building is an exciting journey that allows you to create a custom machine tailored to your needs. Whether you’re a gamer seeking high performance or a casual user wanting to upgrade, understanding the essential components like the CPU, GPU, RAM, and storage is crucial. With the right tools and knowledge, you can navigate the assembly process confidently, ensuring you select compatible parts that suit your budget and requirements.
From understanding the necessary tools such as screwdrivers and anti-static wrist straps to mastering the assembly process with effective cable management and cooling solutions, each step is vital in crafting your perfect PC. As we delve deeper into the intricacies of PC building, you’ll learn how to troubleshoot common issues and harness valuable online resources to enhance your building experience.
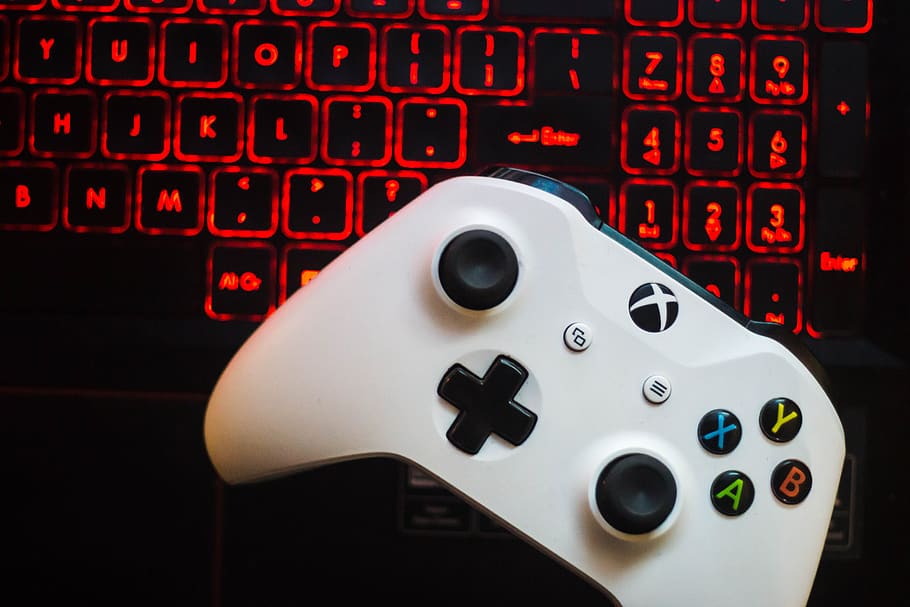
PC Building Basics

Building your own PC can be an exciting and rewarding venture, especially for those who want to tailor their system to their specific needs. Understanding the essential components and tools required for assembly is crucial for a smooth building experience. This guide will cover the fundamental parts of a PC, the necessary tools for assembly, and how to choose compatible components based on your requirements and budget.
Essential Components for Building a PC
A successful PC build requires several critical components that work together to form a functional system. Here’s a look at the essential parts:
- CPU (Central Processing Unit): Often referred to as the brain of the computer, the CPU handles all tasks and processes instructions. When selecting a CPU, consider the number of cores, clock speed, and compatibility with your motherboard.
- GPU (Graphics Processing Unit): The GPU is responsible for rendering images and video. It is especially important for gaming and graphic design. Look for factors like VRAM and performance benchmarks relevant to your tasks.
- RAM (Random Access Memory): RAM temporarily stores data that the CPU needs to access quickly. More RAM can improve multitasking capabilities. Aim for a minimum of 16GB for gaming and heavy applications.
- Storage: You can choose between HDD (Hard Disk Drive) and SSD (Solid State Drive) options. SSDs are faster and more reliable, while HDDs offer larger storage capacities at lower prices. A combination of both is often ideal.
- Motherboard: The motherboard connects all components together. It’s vital to ensure that your chosen motherboard is compatible with your CPU, RAM, and other components.
- Power Supply Unit (PSU): The PSU provides power to all components. Ensure it has sufficient wattage and the necessary connectors for your build.
- Case: The case houses all the components. Choose a case that fits your components, allows for good airflow, and suits your aesthetic preferences.
Tools Required for Assembling a PC
Gathering the right tools is essential for a successful build process. Using the proper tools can help avoid damage to components and ensure everything fits correctly.
- Screwdrivers: A set of Phillips head screwdrivers is typically sufficient for building a PC. A magnetic screwdriver can be beneficial for handling screws.
- Anti-static Wrist Strap: This tool helps protect sensitive components from static electricity, which can cause damage. Always wear it while working inside the case.
- Cable Ties: These keep your cables organized and out of the way, promoting better airflow and enhancing the overall aesthetics of your build.
- Thermal Paste: This is used for CPU installation, ensuring optimal heat transfer. Some CPUs come with pre-applied paste, but an aftermarket option can improve performance.
- Flashlight: A small flashlight can help you see into tight spaces within the case when connecting components.
Selecting Compatible Parts Based on User Needs and Budget
Choosing compatible components is essential for a successful build. The right combination will ensure that your PC runs efficiently and meets your requirements.
Start by assessing your primary use cases, such as gaming, video editing, or general productivity. This will guide your choices in components. Next, set a budget that factors in all components, including peripherals if needed.
When selecting parts, use online PC building tools that allow you to check compatibility between different components. Look for user reviews, benchmarks, and performance comparisons to ensure you’re making informed choices.
For example, if you’re building a gaming PC on a budget of $1,000, you might allocate approximately $300 for the CPU, $250 for the GPU, and the remaining for RAM, storage, and other components. Balancing these costs while ensuring compatibility will help you maximize performance for your investment.
Assembly Process
Assembling a PC can seem daunting, but breaking it down into manageable steps makes it accessible for anyone interested in building their own system. This guide will walk you through the entire process, from initial setup to final cable management, ensuring your build runs smoothly and efficiently.
Detailed Procedure for Assembling a PC
Start by gathering all necessary components and tools. You will need the following:
– CPU
– Motherboard
– RAM
– Graphics Card
– Storage Drives (HDD/SSD)
– Power Supply Unit (PSU)
– Case
– Thermal Paste
– Screwdriver (preferably magnetic)
– Anti-static wrist strap (recommended)
1. Prepare Your Workspace:
Ensure you have a clean, static-free area to work in. An anti-static mat can also help protect sensitive components.
2. Install the CPU:
Open the CPU socket on the motherboard by lifting the lever. Align the CPU with the socket (look for the triangle marking), gently place it in, and secure it by lowering the lever.
3. Apply Thermal Paste:
Use a pea-sized amount of thermal paste on the CPU. Avoid over-applying, as this can cause excess paste to squeeze out when the cooler is mounted, leading to inefficient heat transfer.
4. Attach the CPU Cooler:
Secure the CPU cooler over the CPU according to the manufacturer’s instructions. Ensure that the cooler’s fan is oriented correctly for airflow.
5. Install RAM:
Locate the RAM slots on the motherboard. Open the clips, align the RAM stick with the notch, and press down firmly until it clicks into place. Repeat for additional sticks, ensuring they are installed in the correct slots for dual-channel configuration.
6. Mount the Motherboard:
Place the motherboard inside the case, aligning it with the standoffs. Secure it with screws provided with the case, ensuring it’s firmly in place.
7. Install Storage Drives:
Mount HDDs or SSDs in their designated bays. Use screws or tool-less brackets as applicable. Connect the SATA cables to the motherboard and drives.
8. Install the Power Supply:
Position the PSU in the designated area of the case, typically at the bottom. Secure it with screws and connect the main power cable to the motherboard, along with any necessary cables to the GPU and storage devices.
9. Install the Graphics Card:
Insert the GPU into the appropriate PCIe slot on the motherboard. Secure it with screws and connect any required power cables.
10. Cable Management:
Organize cables for optimal airflow and aesthetics. Use cable ties to bundle cables together and route them behind the motherboard tray if possible.
11. Final Check and Power On:
Ensure all connections are secure. Close the case and connect peripherals. Power on and enter the BIOS to ensure all components are detected.
Best Practices for Thermal Paste Application and Cooling Solutions
Proper application of thermal paste and cooling solutions is vital for maintaining optimal performance. Here are key practices:
– Thermal Paste Application:
– Always clean the CPU and cooler base with isopropyl alcohol before applying new thermal paste.
– The “dot method” (a small dot in the center of the CPU) or the “spread method” (spreading a thin layer) are both acceptable techniques.
– Cooling Solutions:
– Consider using air coolers or liquid cooling systems depending on your performance needs and budget.
– Ensure adequate case airflow with a balanced intake and exhaust fan setup.
Comparison of Assembly Techniques for Different Skill Levels
When building a PC, different assembly techniques can be employed based on the builder’s skill level. The following table provides a comparison:
| Skill Level | Assembly Technique | Recommended Components |
|---|---|---|
| Beginner | Pre-built case layout with clear instructions | Basic CPU coolers, standard RAM, no overclocking |
| Intermediate | Custom cable management with moderate overclocking | Aftermarket CPU coolers, RGB RAM, custom fan setups |
| Advanced | Full custom water cooling, extensive cable management | High-end components, overclocked CPUs and GPUs |
Troubleshooting Common Issues: Pc Building

Building a PC can be a thrilling experience, but it often comes with its share of challenges. It’s not uncommon to encounter issues like boot failures or overheating, which can be frustrating for both novice and experienced builders. Understanding these problems and knowing how to tackle them is essential for a successful build.
During the assembly and configuration of a PC, several common issues may arise that can prevent your system from operating smoothly. Identifying these problems early can save time and potentially costly repairs. By troubleshooting effectively, you can ensure that all components are functioning correctly and that you get the most out of your setup.
Boot Failures
Boot failures are a prevalent issue that can occur for various reasons. When your PC fails to boot, it could be due to incorrect connections, faulty hardware, or BIOS settings that need adjustment. Here’s how to diagnose and resolve these issues:
– Check Power Connections: Ensure that all power cables are securely connected to the motherboard and components. The 24-pin ATX cable and the 4/8-pin CPU power connector must be firmly in place.
– Inspect RAM Seating: Improperly seated RAM can lead to boot failures. Reseat the RAM by removing it and placing it back into the slots, ensuring it’s clicked in securely.
– Clear CMOS: If your PC is not starting up properly, try resetting the BIOS settings by clearing the CMOS. This can often rectify boot-related issues.
– Test with Minimal Components: To rule out problems with specific parts, boot the system with only essential components connected (CPU, one stick of RAM, and GPU if there’s no onboard video).
– Listen for Beep Codes: Many motherboards emit beep codes during boot attempts. Refer to your motherboard’s manual to decode these signals, which can provide valuable diagnostic information.
Overheating Issues
Overheating can seriously impact the performance and longevity of your PC. It’s crucial to maintain optimal temperatures for all components, especially the CPU and GPU. Here are some strategies to troubleshoot overheating problems:
– Examine Cooling Solutions: Ensure that your CPU cooler is properly installed. If it’s a liquid cooler, check that the pump is functioning and that there is sufficient coolant.
– Monitor Fan Speeds: Use software tools to check the operating speeds of your fans. If they are not spinning at appropriate RPMs, there may be a power or connection issue.
– Reapply Thermal Paste: If temperatures remain high, consider reapplying thermal paste between the CPU and cooler. Old or improperly applied thermal paste can significantly hinder heat transfer.
– Improve Airflow: Check for proper airflow within the case. Make sure there are no cables obstructing fans and that the case has adequate intake and exhaust options.
– Utilize Temperature Monitoring Software: Programs like HWMonitor or Core Temp can help you track the temperatures of your components in real-time.
Online Resources and Forums, Pc building
For any specific issues you might encounter during your build, a wealth of online resources and forums can provide assistance. Engaging with these communities can often lead to quick solutions and expert advice. Here are some valuable platforms:
– Tom’s Hardware: A comprehensive site with articles, forums, and guides dedicated to PC building and troubleshooting.
– Reddit (r/buildapc): A thriving community where users can share their builds, seek advice, and troubleshoot issues with fellow builders.
– Linus Tech Tips Forum: A vibrant forum where PC enthusiasts discuss various topics, including troubleshooting and performance optimization.
– YouTube Channels: Channels like JayzTwoCents and Gamers Nexus offer visual troubleshooting guides and helpful tips for PC building and maintenance.
By familiarizing yourself with these common problems and their solutions, you can make your PC building experience more enjoyable and effective. Ensuring all components are functioning correctly is critical for achieving the best performance from your new system.